Achieving Airtightness

Often when you see a job well done, you want to point to it as an example. At the Green Building Council of Australia’s recent workshop Tackling Air Tightness, there were several examples of projects that we could point to and say, “this is how it should be done.” At the workshop, Granted Construction impressed the audience with a beautiful, high-performance home in Emerald Victoria that stands as an example of the kinds of project they want to deliver for their clients.
The house was built for Devin Grant himself, had an air tightness test result of 0.34 m3/hr/m2 (0.36 ACH50), which is fantastic and comfortably achieves the standard set by Passive House for residential construction. The testing was done by expert Joseph Cheung of Efficiency Matrix (ATTMA Tester #4003). If you need a builder for a project with ambitious airtightness goals, Granted Construction would be worth a look.
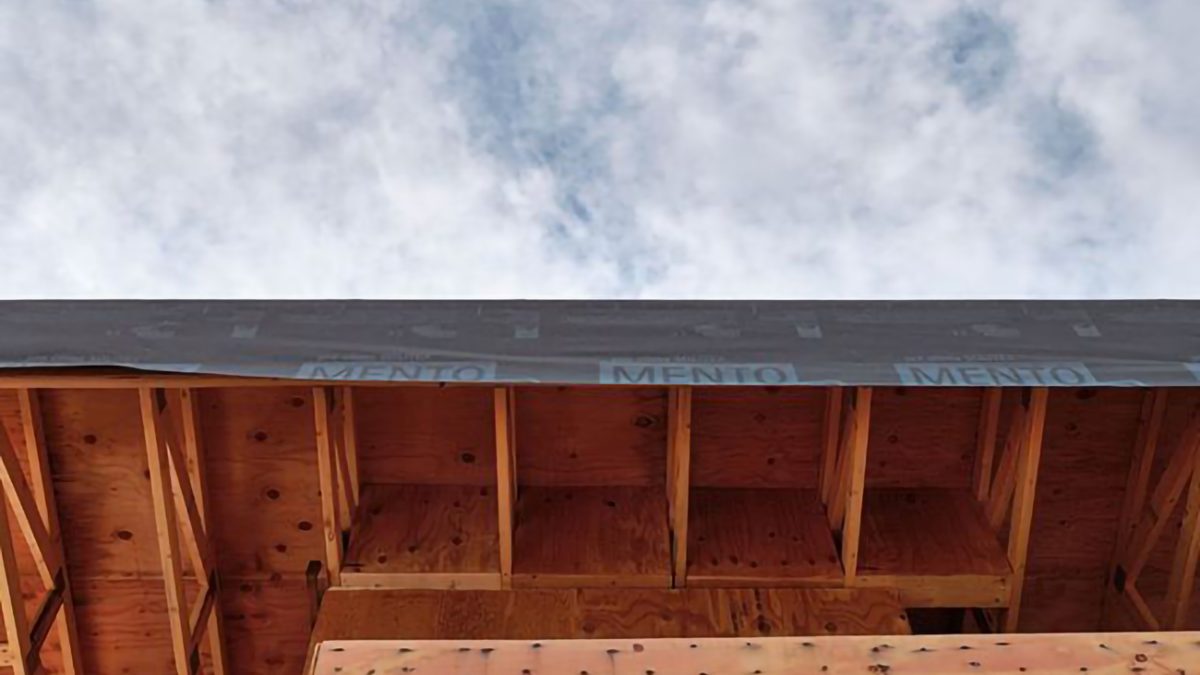
The most impressive part of Devin’s presentation at the seminar was his company’s way of reliably achieving a good result by relatively simple means. For this project, the exterior weather-resistant barrier (WRB) was pro clima’s SOLITEX EXTASANA® wall wrap and SOLITEX MENTO® roof underlay while the interior air barrier was INTELLO®.
But specifying a high-quality air barrier does not guarantee good results. When executing air tightness, keeping things simple and straightforward is one of the best strategies for success. One aspect where this is very true is construction sequencing.
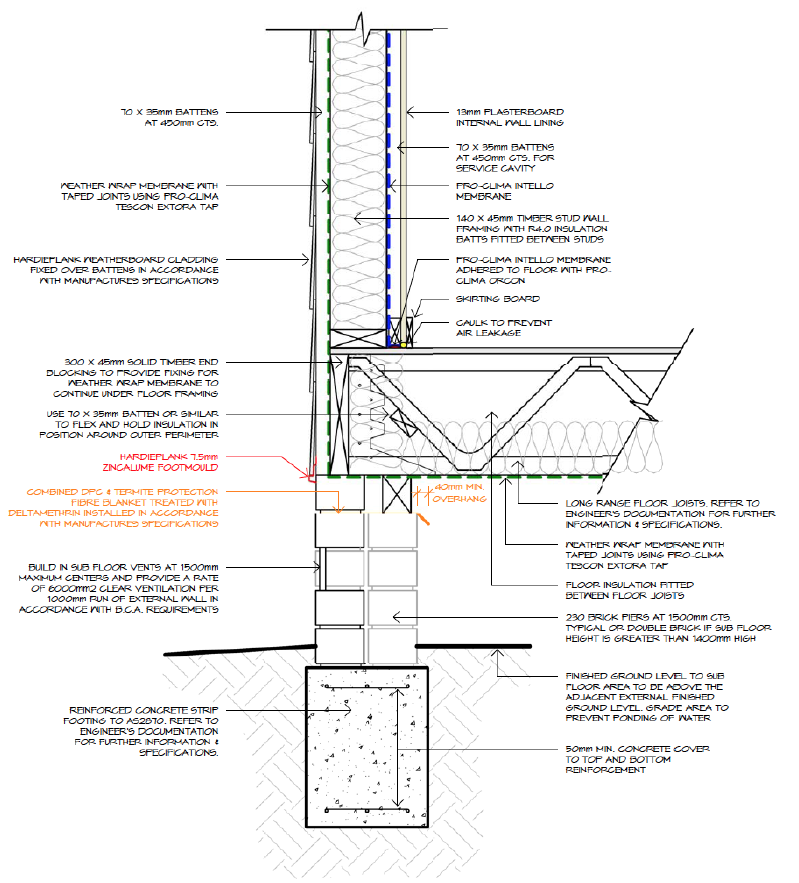
A typical sequence of construction entails setting the foundation, erecting the framing, and then wrapping it with the specified WRB. This standard sequence works for many designs but in some cases it poses challenges. For houses on a raised pier foundation, you won’t have the benefit of simply sealing the wall WRB to the airtight floor slab. The floor itself is leaky and you need to wrap underneath the house to enclose it.
If you follow the standard order of steps and build the foundation, put up the walls, then wrap the house, you’ll be left with a tricky situation – how do you get the wrap under the floor joists when they’re already resting on the foundation?
Granted Construction made simple changes in the order of these steps to make the job easier and more effective. They created the foundation of masonry piers and walls, then laid their damp-proof course and termite protection, which is typical. But before laying any timber down, they placed strips of SOLITEX MENTO® over the foundation and just left them hanging. They didn’t bother to tape them at this point – we’ll come back to that later.
They went about laying and securing the timber floor joists on top of the strips of SOLITEX MENTO®, still hanging loose. Once the floor was in place, they were able to pull their rolls of SOLITEX EXTASANA® wall wrap under the floor. Stapling this to the underside of the floor joists, they were able to join this membrane to the strips of SOLITEX MENTO® they had already laid. Sealing the seam between them was a matter of applying TESCON EXTORA® tape.
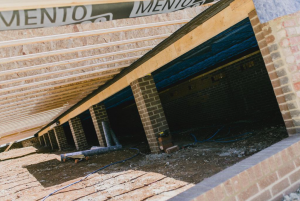
By thinking ahead, they put the weather-control layer exactly where it needed to be – on the outside – before putting up the floor. Then they finished the floor plane by connecting those pieces. Now they could continue working from this airtight layer upward and the floor assembly matched up with the walls.
Building airtight walls is another potential challenge, particularly for the interior. Conceptually, a wall can be a simple flat plane, but in reality, it is often intersected by other walls and joints at every interior partition. This creates many challenges to creating a simple air barrier, and simplicity is a key to effectiveness with airtightness.
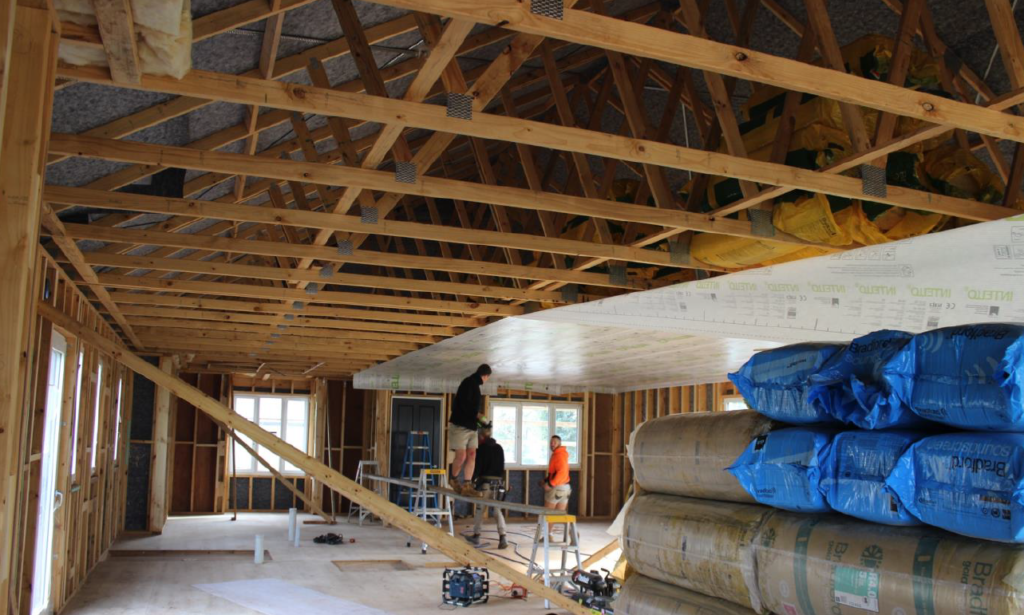
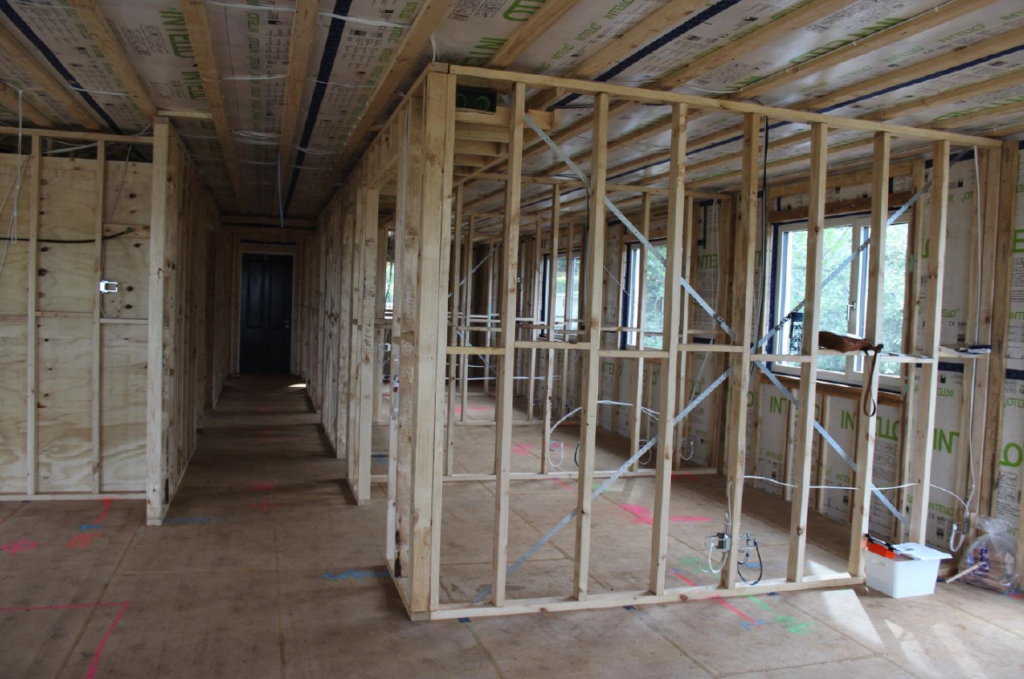
Granted Construction got around this in an innovative way. By communicating their plans with their building certifier, they got permission to stand the walls up with temporary supports, without putting up their interior partitions yet. That allowed them to very simply and cleanly line the walls and ceiling with the interior air barrier INTELLO®, and to pay very close attention to all the sealing details at the wall/ceiling joints, the wall/floor joint, and around every window and door.
Along the way, they had Efficiency Matrix do some intermediate testing with a Blower Door to help troubleshoot problems. Once they were satisfied that they met their airtightness goals, they replaced the temporary wall supports with the planned interior partitions. They could rest easier, knowing that all the complicated electrical and carpentry business they were now doing was to the inside of the INTELLO® air barrier. It was perfect, and they didn’t have to touch it.
If you are shooting for airtightness on your next job, thinking about the order in which you do things will be very important. Pro Clima tries to help with this thinking. INTELLO® Plus connection strips are narrow rolls of fabric that you put in place where you know an interior partition will meet an exterior partition. Put the connection strip up, then build your interior partition.
When you’re ready to line the inside with INTELLO®, you’ve already got the air barrier in the right place – just tape INTELLO® to the connection strips. This way, all the complication of interior partition and services is still to the inside of the air barrier. You don’t have to touch it. Sealing becomes much simpler. Small changes make a big difference when you are aiming for airtightness.
Pro Clima Australia was proud proud to have guest speakers at the GBCA workshop, but we are even more proud any time we can work with people like Devin Grant and Granted Constructions, who make the science of pro clima Australia building performance products an impressive reality. If we can assist you with your project, please feel free to contact us.
Tags In
Authors
Recent articles
- It’s All Just a Façade January 28, 2026
- German School Buildings Top The Class November 21, 2024
- The Perfect Pod July 24, 2024
- Above Sheathing Ventilation – Part 0: Flat Roofs September 12, 2023
- Above Sheathing Ventilation – Part 3: Fighting the Sun December 13, 2021

